How to Make and Can Pear Juice
How to Make and Can Pear Juice
How to Make and Can Pear Juice
Making and canning your own pear juice is a delightful way to preserve the fresh flavors of pears for year-round enjoyment. With the right equipment, like the Ventray Essential Ginnie Juicer, and a little know-how, you can create delicious, preservative-free pear juice at home. This guide will walk you through the steps of making and canning pear juice, ensuring you have a nutritious, homemade drink that can be enjoyed any time.
Selecting and Preparing the Pears

Choose the Right Pears
The key to great pear juice starts with the fruit itself. Opt for ripe, juicy pears such as Bartlett or Anjou varieties. Ripe pears are essential as they yield more juice and have a natural sweetness.
Preparing the Pears
Wash the pears thoroughly to remove any dirt or pesticides. You can peel them if you prefer, but leaving the skin on during juicing can add more nutrients and fiber to your juice.
For more pear juice recipes and ideas, visit Ventray’s recipe collection.
Juicing the Pears

Using a Quality Juicer
A high-quality juicer like the Ventray Essential Ginnie Juicer can make the juicing process efficient and easy. These juicers are designed to extract maximum juice while retaining the nutrients.
Juicing Process
Cut the pears into chunks that fit your juicer’s feed chute. Slowly feed the pear pieces into the juicer. Collect the juice in a large bowl or pitcher.
Cooking the Juice

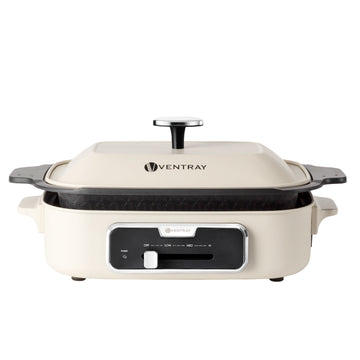
After juicing, it’s advisable to cook the pear juice to kill any bacteria and prepare it for canning. Pour the juice into the Every Grill and bring it to a boil. Reduce the heat and let it simmer for about 5 minutes.
Preparing for Canning
Sterilize the Jars
Before canning, you need to sterilize your jars and lids. Boil them in water for about 10 minutes, then keep them hot until they are ready to be filled. This process ensures that your canned juice remains free of bacteria.
Filling the Jars
Using a ladle, pour the hot pear juice into the sterilized jars, leaving about ¼ inch of headspace. Wipe the rims of the jars with a clean cloth to remove any juice residue.
Canning the Pear Juice
Using a Water Bath Canner
Place the filled jars in a water bath canner, ensuring they are completely submerged in water. Boil them for the recommended processing time based on your altitude.
Cooling and Storing
Once processed, remove the jars and let them cool on a towel or cooling rack. Check the seals and store the jars in a cool, dark place. Properly canned pear juice can last for up to a year.
Discover more about the benefits of homemade juices and canning on Healthline’s comprehensive juicing guide and The Spruce Eats’ canning tips.
Conclusion
Making and canning pear juice at home is a rewarding process that gives you a fresh, natural product without the additives found in commercial juices. By following these steps and using the right equipment, you can enjoy the delicious taste of homemade pear juice all year round. It's a healthy, delightful addition to your pantry, perfect for drinking as is or incorporating into various recipes.
